Create a New Project
Click on the “Create Project” button located on the right side of the screen to initiate a new project.
A pop-up window will appear, prompting you to enter essential details:
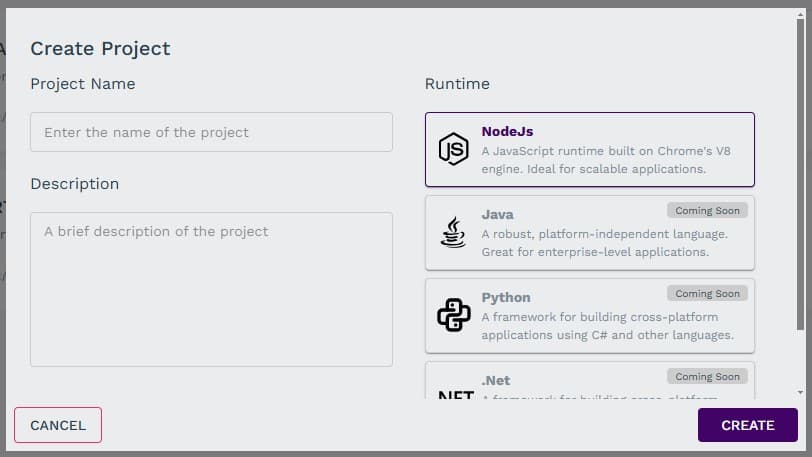
- Project Name – Choose a meaningful name that represents your project.
- Description – Provide a brief summary of your project’s purpose and scope.
- Runtime Technology – Select the appropriate runtime environment based on your development requirements.
- Synngular currently provides NodeJS runtime technology.
- Additional technologies such as Java, Python, and .NET will be enabled soon.
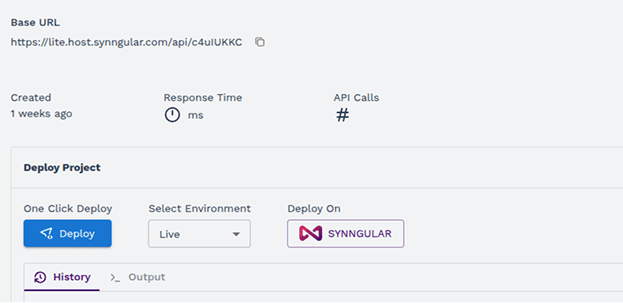
After completing these steps, click on the “Create” button. You will then land on the Project’s General Page, where you will find some basic information regarding the same project:
- Base URL – The main endpoint for accessing the project’s APIs.
- Response Time – Displays the average time taken for API requests to respond.
- API Calls – Tracks the number of API calls made within the project.
Additionally, the page provides important configuration options:
- Deploy Project – Allows you to deploy your project to a Live or Dev environment.
- Export Project – Enables you to export project files and configurations.
- Add Member – Lets you invite team members and assign predefined roles.
After filling in these details, confirm your selections to create the project. The newly created project will be available in your project list, where you can open it to proceed with further configuration.
To enhance collaboration, you can invite team members and assign roles from the predefined options available on the platform. This allows for efficient project management, ensuring that each team member has the right level of access and responsibilities within the project.