Testing APIs
Testing your APIs ensures they function correctly and return expected results. The built-in Test Tab provides an easy-to-use interface for running API requests and viewing responses.
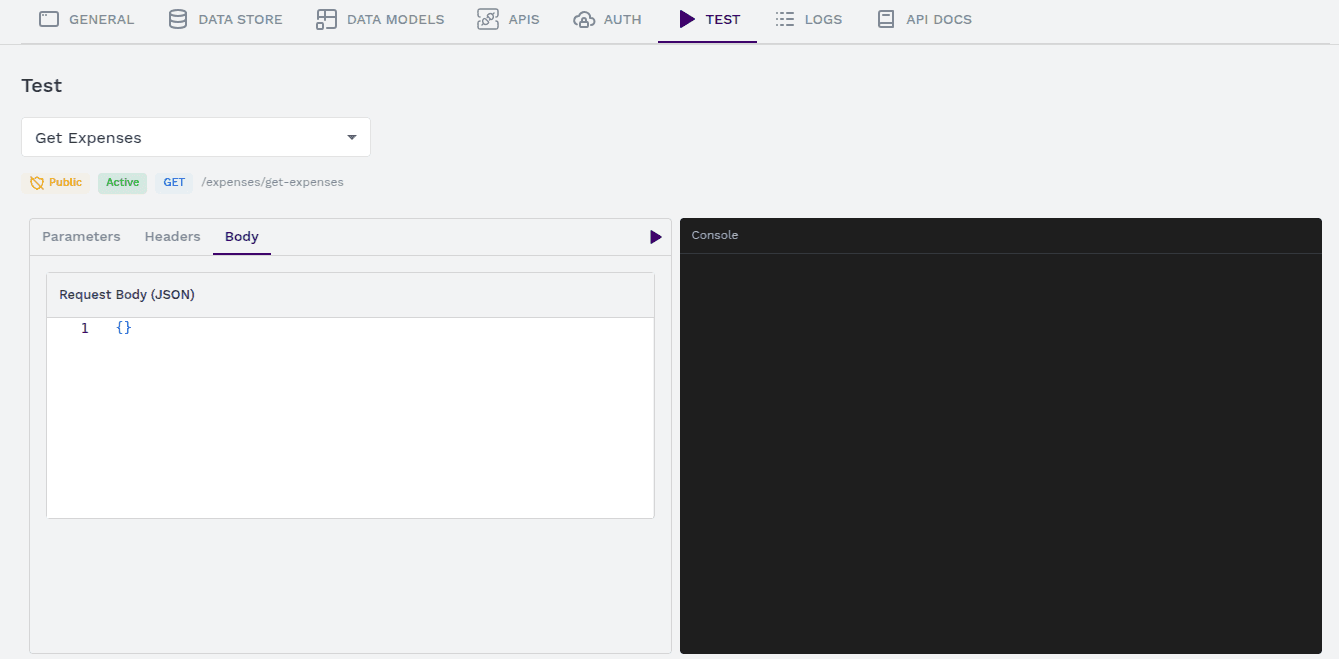
Step 1: Open the Test Tab
- Navigate to the APIs section in the Synngular dashboard.
- Select the API you want to test.
- Click on the Test tab to open the API testing interface.
Step 2: Configure API Request
Before executing the API, you need to provide the required parameters:
Query Parameters & Headers
- If your API requires query parameters, add them in the designated section.
- Enter any required header parameters, such as authentication tokens or content types.
Body Data (For POST & PATCH Requests)
If you are testing a POST or PATCH request:
- Navigate to the Body section.
- Provide the necessary input data in JSON format.
- Click the Play button on the top bar to execute the request.
Multi-Part Body (For File Uploads)
- If the API supports file uploads, switch to the Multi-part Body section.
- Choose the file you want to upload.
- Add any additional fields required by the API.
- Click the Play button to submit the request.
Step 3: Execute the API Request
Once all parameters are set:
- Click the Play button (▶) to send the API request.
- The system will process your request and return a response.
Step 4: Review API Response
The Outputs tab will display the results:
- Response Data – The data returned by the API.
- Status Code – HTTP response status (e.g., 200 OK, 400 Bad Request, 500 Internal Server Error).
- Logs & Debugging Information – Useful for identifying issues in API execution.
Step 5: Iterate & Optimize
- Modify your parameters, headers, or body data as needed.
- Run the test again to refine and optimize your API request.
- Debug any errors by reviewing the response logs.
By following these steps, you can effectively test and validate your APIs, ensuring smooth functionality before deployment.
Last updated on